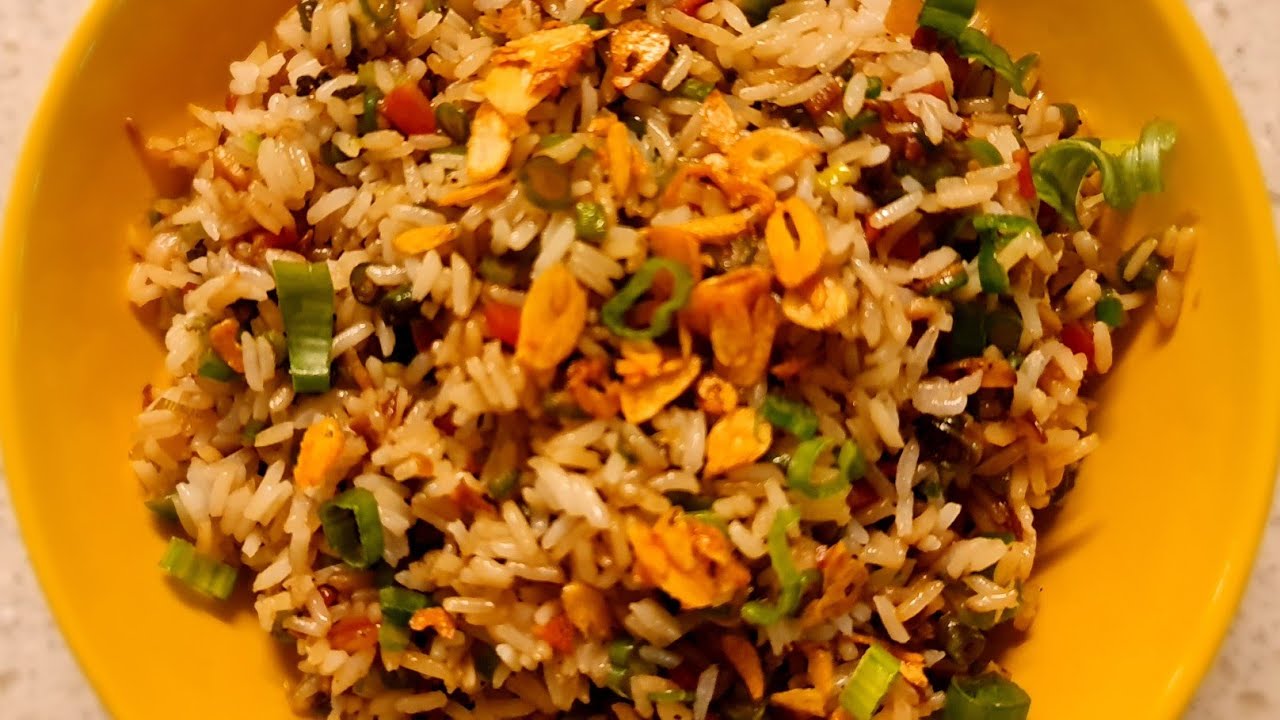
What makes this dish special
Fried rice is a universally loved dish that can be taken as an evening snack or as a main course for lunch or dinner. This recipe adds a burnt garlic flavor to the fried rice, which makes it very, very tasty. The garlic is roasted in oil until it is crispy. The dish is also full of colorful vegetables, such as carrots, beans, and capsicum. The soy sauce and vinegar add a savory and tangy flavor to the dish. This recipe is quick and easy to make, and it is sure to be a hit with everyone.
Recipe
Ingredients: * Rice: ½ cup (boiled and cooled well) * Oil: 2 Tbsp * Garlic: 2 Tbsp (chopped finely) * Spring onion white: 2 Tbsp (chopped) * Carrot: ½ (chopped) * Beans: 10-12 (chopped) * Capsicum: ½ (chopped) * Soy sauce: 1 tsp (dark) * Vinegar: 1 tsp * Black pepper powder: ½ tsp * Salt: to taste * Spring onion greens: 1 Tbsp
Instructions: 1. In a kadai/wok, add the oil. 2. Add the garlic and on low heat, stir fry till golden. Take out 1 tsp of the garlic for garnishing. 3. Add the spring onions and stir until translucent. 4. Add the carrot and beans. Saute for a minute. 5. Add the soy sauce, black pepper powder, and capsicum. Mix well. 6. Add the rice in batches, while mixing well. 7. Finally, add salt to taste, 1 tsp of spring onion greens, and the vinegar. Mix well. 8. Serve hot, garnished with the garlic and spring onion greens.
Tips: * When boiling the rice, make sure it is slightly al dente. * The rice should be cooked at least 4-5 hours before making the fried rice, or even the day before. This will help to ensure that the rice is not sticky. * It is important to chop the garlic very finely, so that it will roast evenly in the oil. * If you feel that the garlic is browning too quickly, turn off the heat immediately. Over-burned garlic will give the dish a bitter taste.
Architecture Tip
It is not necessary that the entire storage is see-through glass or non-see-through. You can have a mix. That gives you a kind of relaxation. The see-through, you want to be set and look beautiful. The non-see-through, you can quickly put things in there.